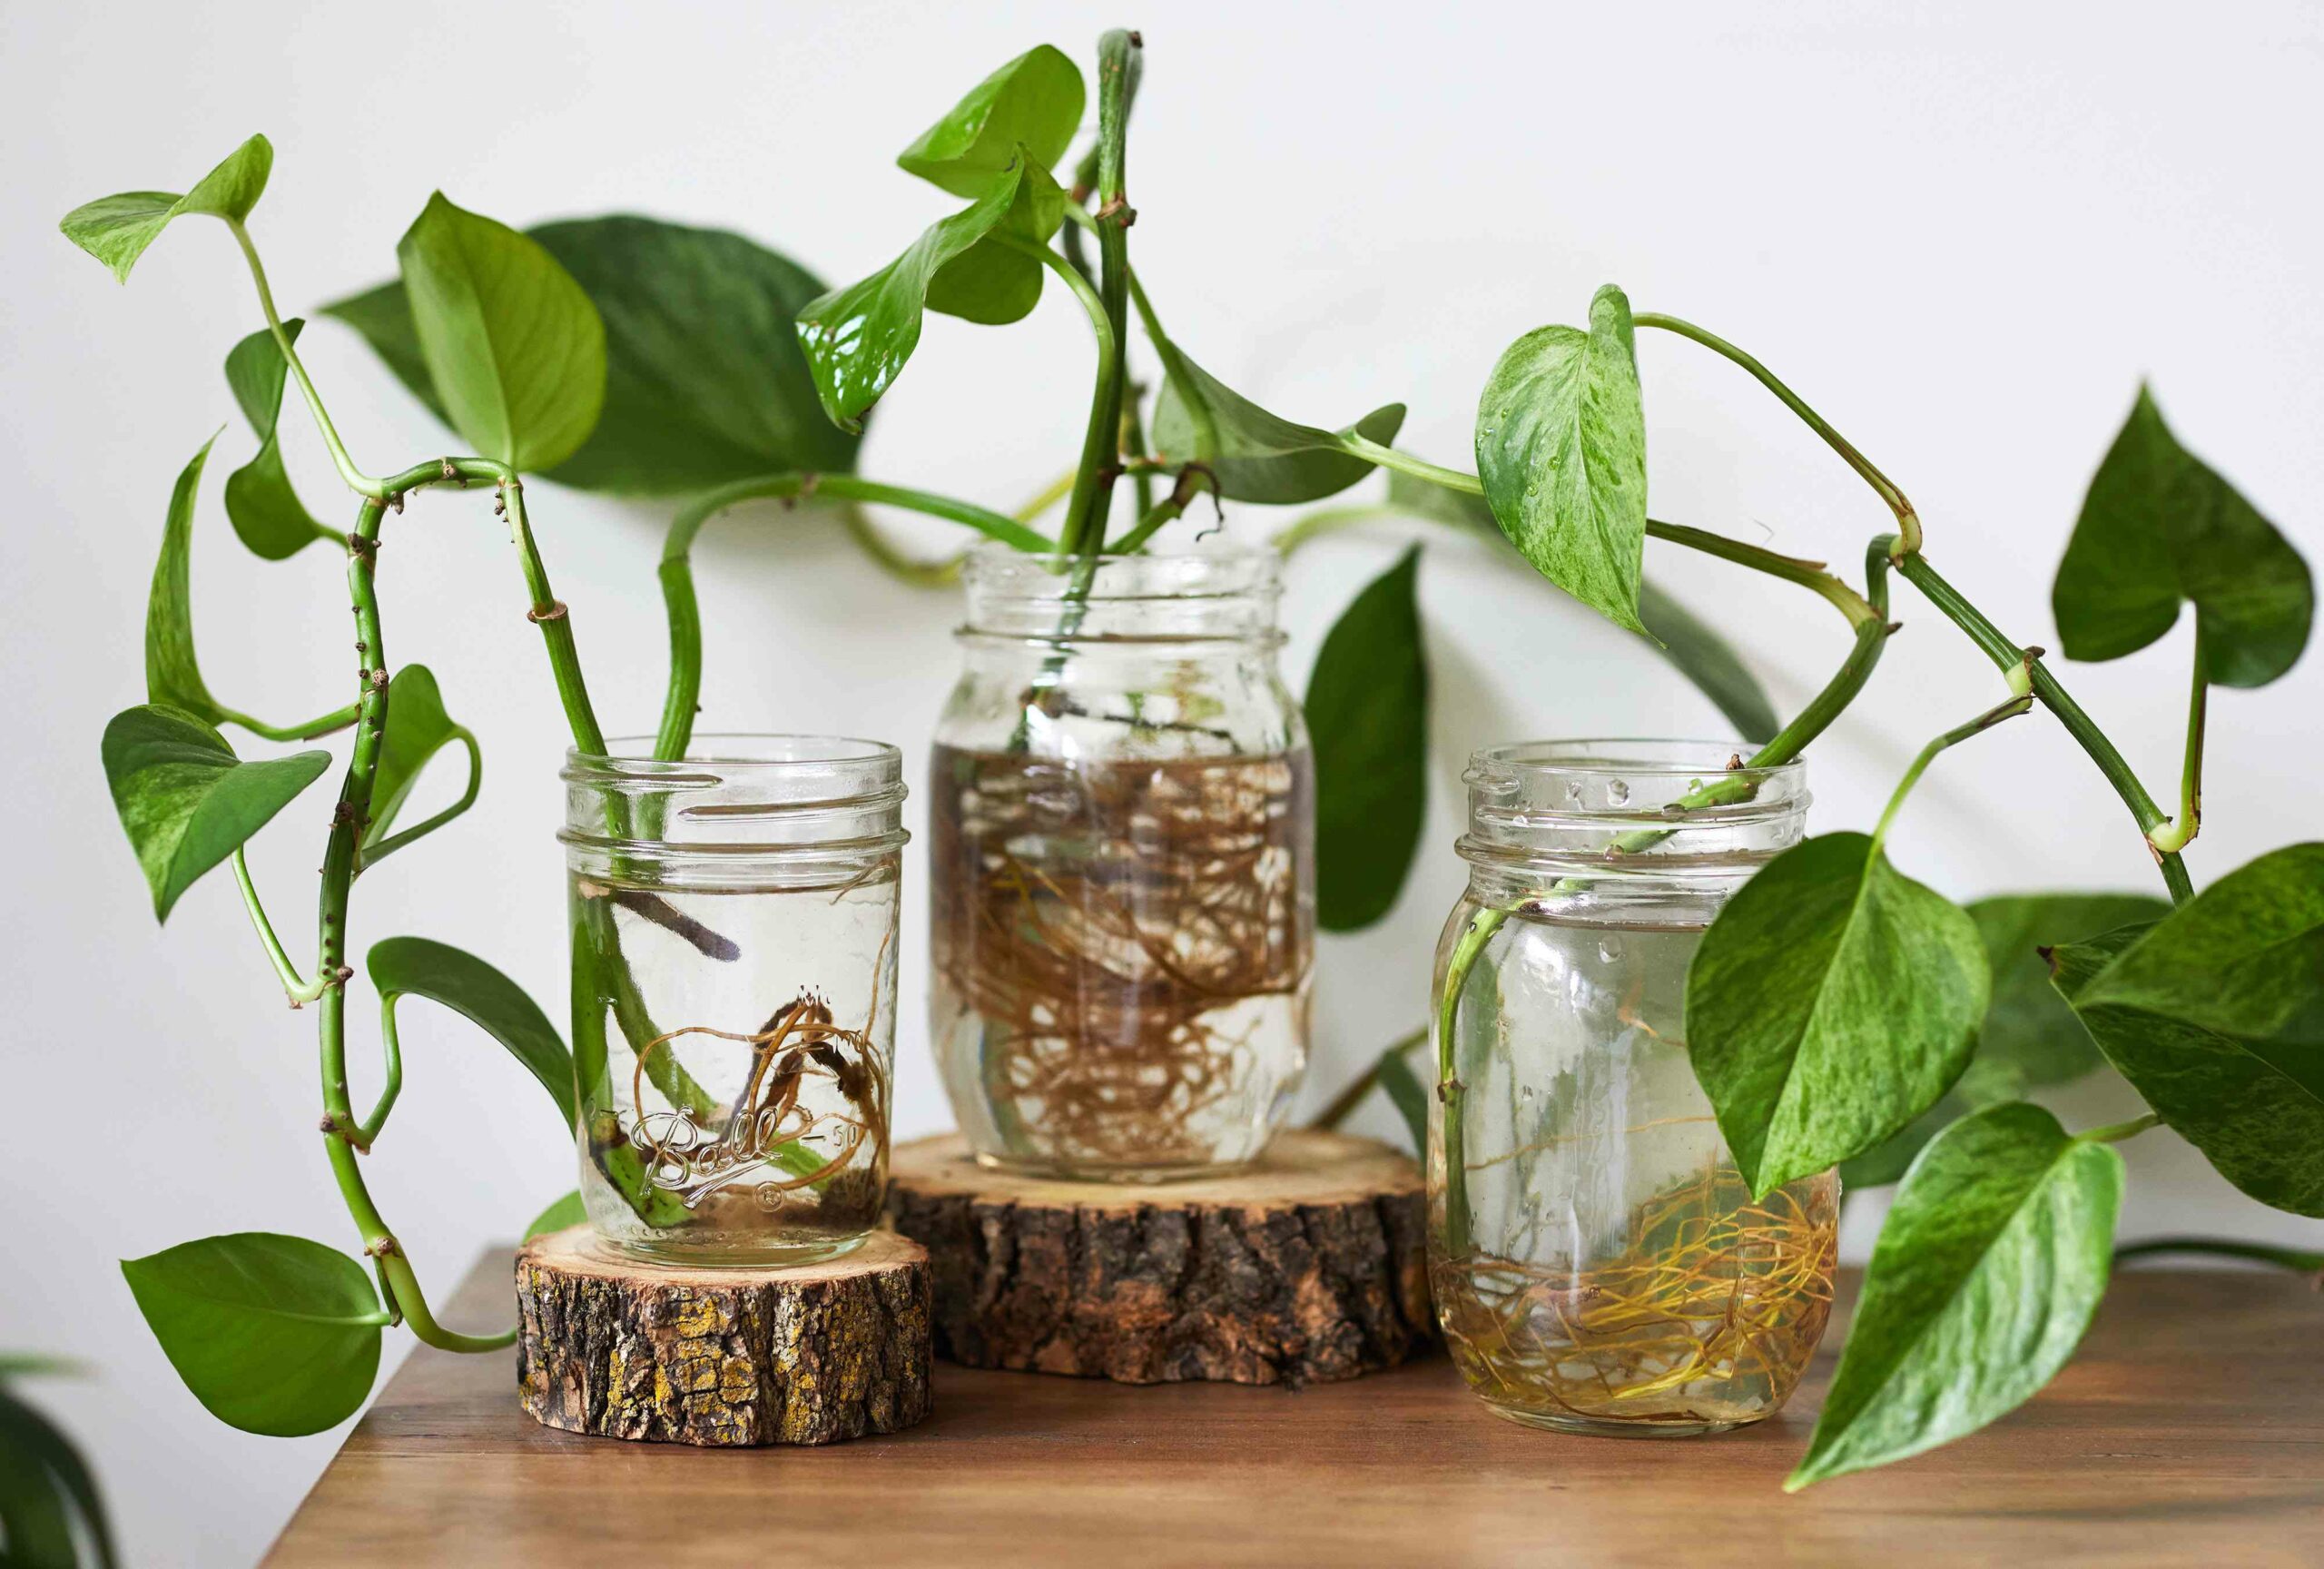
Plant Clones
AKA Propagating Houseplants
One of my favorite things to do with plants is propagating them. As a plant parent there is something very satisfying in seeing the roots start to grow from a cutting placed in water. Its a reminder of the life of the plant and the continuous cycle that it offers. One plant can produce many offspring. In that way a plant can live forever. From one cutting to another. I’ve met plant parents that have cuttings that date back to 50 years. Cuttings from their parents and grandparents. Plant propagation is not only a fun hobby it can transform into a tradition, a family heirloom. Propagated plants can also be a wonderful gift to give to friends and loved ones.
What does it mean to propagate a plant?
Plant propagation is a process of cutting a plant stem or leaf and placing it in a rooting medium. There are multiple rooting mediums which include soil, peat moss, sand and water. There are two methods of propagation. The first one involves a contribution from both male and female plants. Similar to humans, it’s a process in which parent species create offspring with different genetics to them. The process begins with flowering, followed by pollination, fertilization, and finally seed formation. For some plants this is the only way to reproduce, which leads to the creation of new, better plant species that are disease resistant and have a longer life span.
The most common way that houseplants are propagated is considered to be “asexual”, meaning a new plant formed from a single parent. For this method, there is no genetic exchange involved resulting in the plant that is identical to the parent plant, also known as a plant clone. Generally, this method of propagation is much faster as it allows for plants that do not produce seeds to be grown with one single parent, without requiring pollination or cross-pollination.
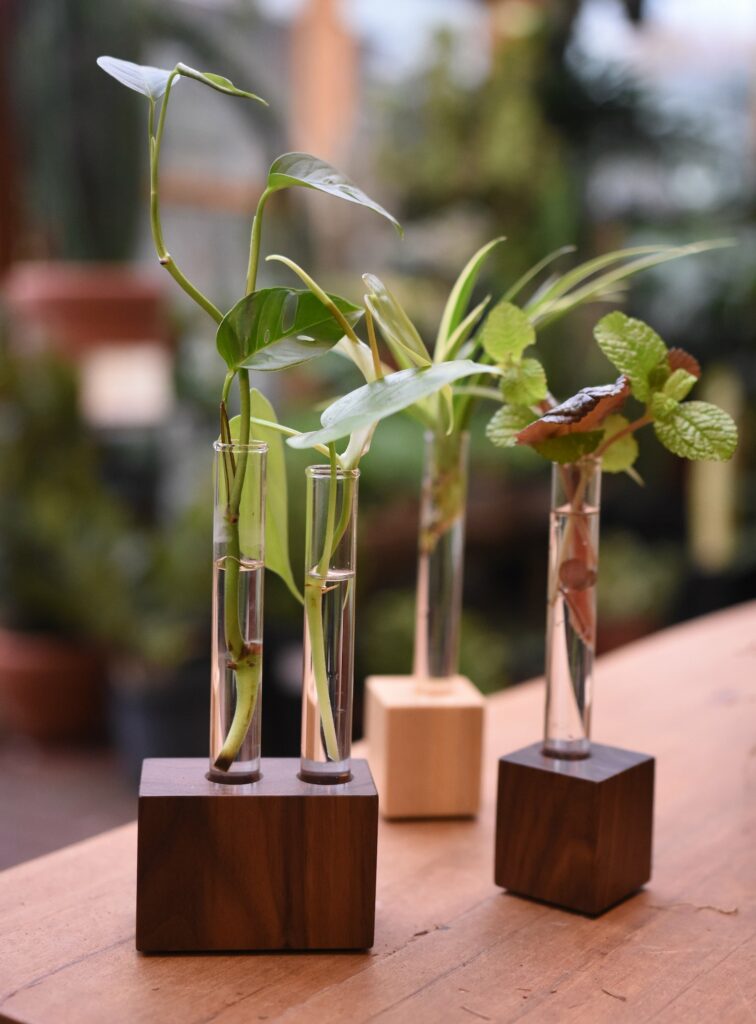
Plant cloning is the fastest way of propagating a new plant and only requires a single parent
Where to Begin?
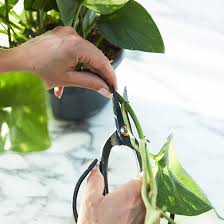
It all begins with finding the right cutting. You want to make sure that you find a healthy stem to use, one that does not have any discoloration or signs of distress. It’s best to pick a stem from a plant that is growing rapidly. Summertime is one of the best times to propagate due to the fact that this is a vigorous growing season. The healthy stem should be 4-6 inches long and have multiple leaves.
Be sure to cut the stem using a sharp pair of scissors or knife to ensure that it is a clean cut and does not damage the stem. Use the knife or scissors and cut right below the lowest node on the stem. The node is where the leaf attaches to the stem. Remove the leaves from the bottom one third to one half of the stem. Don’t worry if after doing this your stem looks bare. Its very common to just have one or two leaves attached to the top of the stem.
To begin propagating, you will need to start with a healthy steam of 4-6 inches preferably from a plant that is growing rapidly
Time to Plant!
The quickest way to propagate and see the results is to propagate in water. Many plants can be placed in a glass jar or vase of water to propagate easily. Those plants can then be transferred from water to soil or another rooting medium. The following are some tips for effortless water propagation.
- Place your freshly cut stem in water. I would suggest placing it in spring or filtered water. Some tap water can be harsh on freshly cut stems. You will also want to make sure that the vase or jar is on the smaller side and that the water is room temperature. The container should be large enough to accommodate the cutting and deep enough to allow the bottom third to one half of the stem to be submerged.
- The next step in propagation is maintenance. The water should be changed regularly. Changing the water every few days will keep it fresh and oxygenated. This will prevent the growth of bacteria and fungus that can damage the cutting. It’s important to also rinse the container when you add fresh water.
- Place the container housing your new stem in a bright, warm location, but out of direct sunlight. Direct sunlight can heat up the water and cause the cutting to rot. A warm, humid environment will encourage root growth and help the cutting to establish itself.
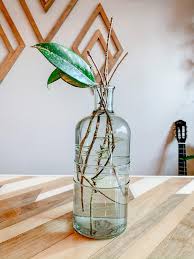
Propagating plants in water can be quick and easy but you will still need to maintain the quality of the water and manage the amount fo light the plant receives

The Waiting Game
Once you have nailed down your plant propagation maintenance routine its just a matter of time before you begin to see new root growth. Roots should begin to grow in 2-4 weeks. You may notice small bumps or nodules appearing on the stem, which are the beginning of root growth. Once the roots are at least an inch long they can be transferred into soil.
It can take 2-4 weeks for roots to grow on your propagated plant
From Water to Soil
Many plant parents opt to keep their cuttings in water but if you would like to transfer your new plant to soil there are a few things to keep in mind. Choose a small pot with well draining soil and make a hole in the center. Gently remove the cutting from water, being mindful not to ruin the delicate roots. Place the cutting in the center of the hole and gently press the soil around the stem. Water your new plant thoroughly and place it in a bright and warm environment. Avoid placing your new cutting in direct light. Keep the soil evenly moist but not soaked. Your plant will thank you!
With the right care and patience you can grow a whole new family of thriving, healthy and happy plants!

Newly propagated plants can be keep in water or carefully transferred to soil if desired
Need some help propagating your plants?
Contact HousePlantSitter to get assistance from our plant experts


